
Why Choose Linen for DIY?
Linen is one of the most beginner-friendly fabrics to work with. Its natural structure makes it easy to cut, sew, and press, while its strength ensures your finished piece will last for years. Beyond practicality, linen’s breathability, texture, and graceful drape make every project feel elevated and intentional.
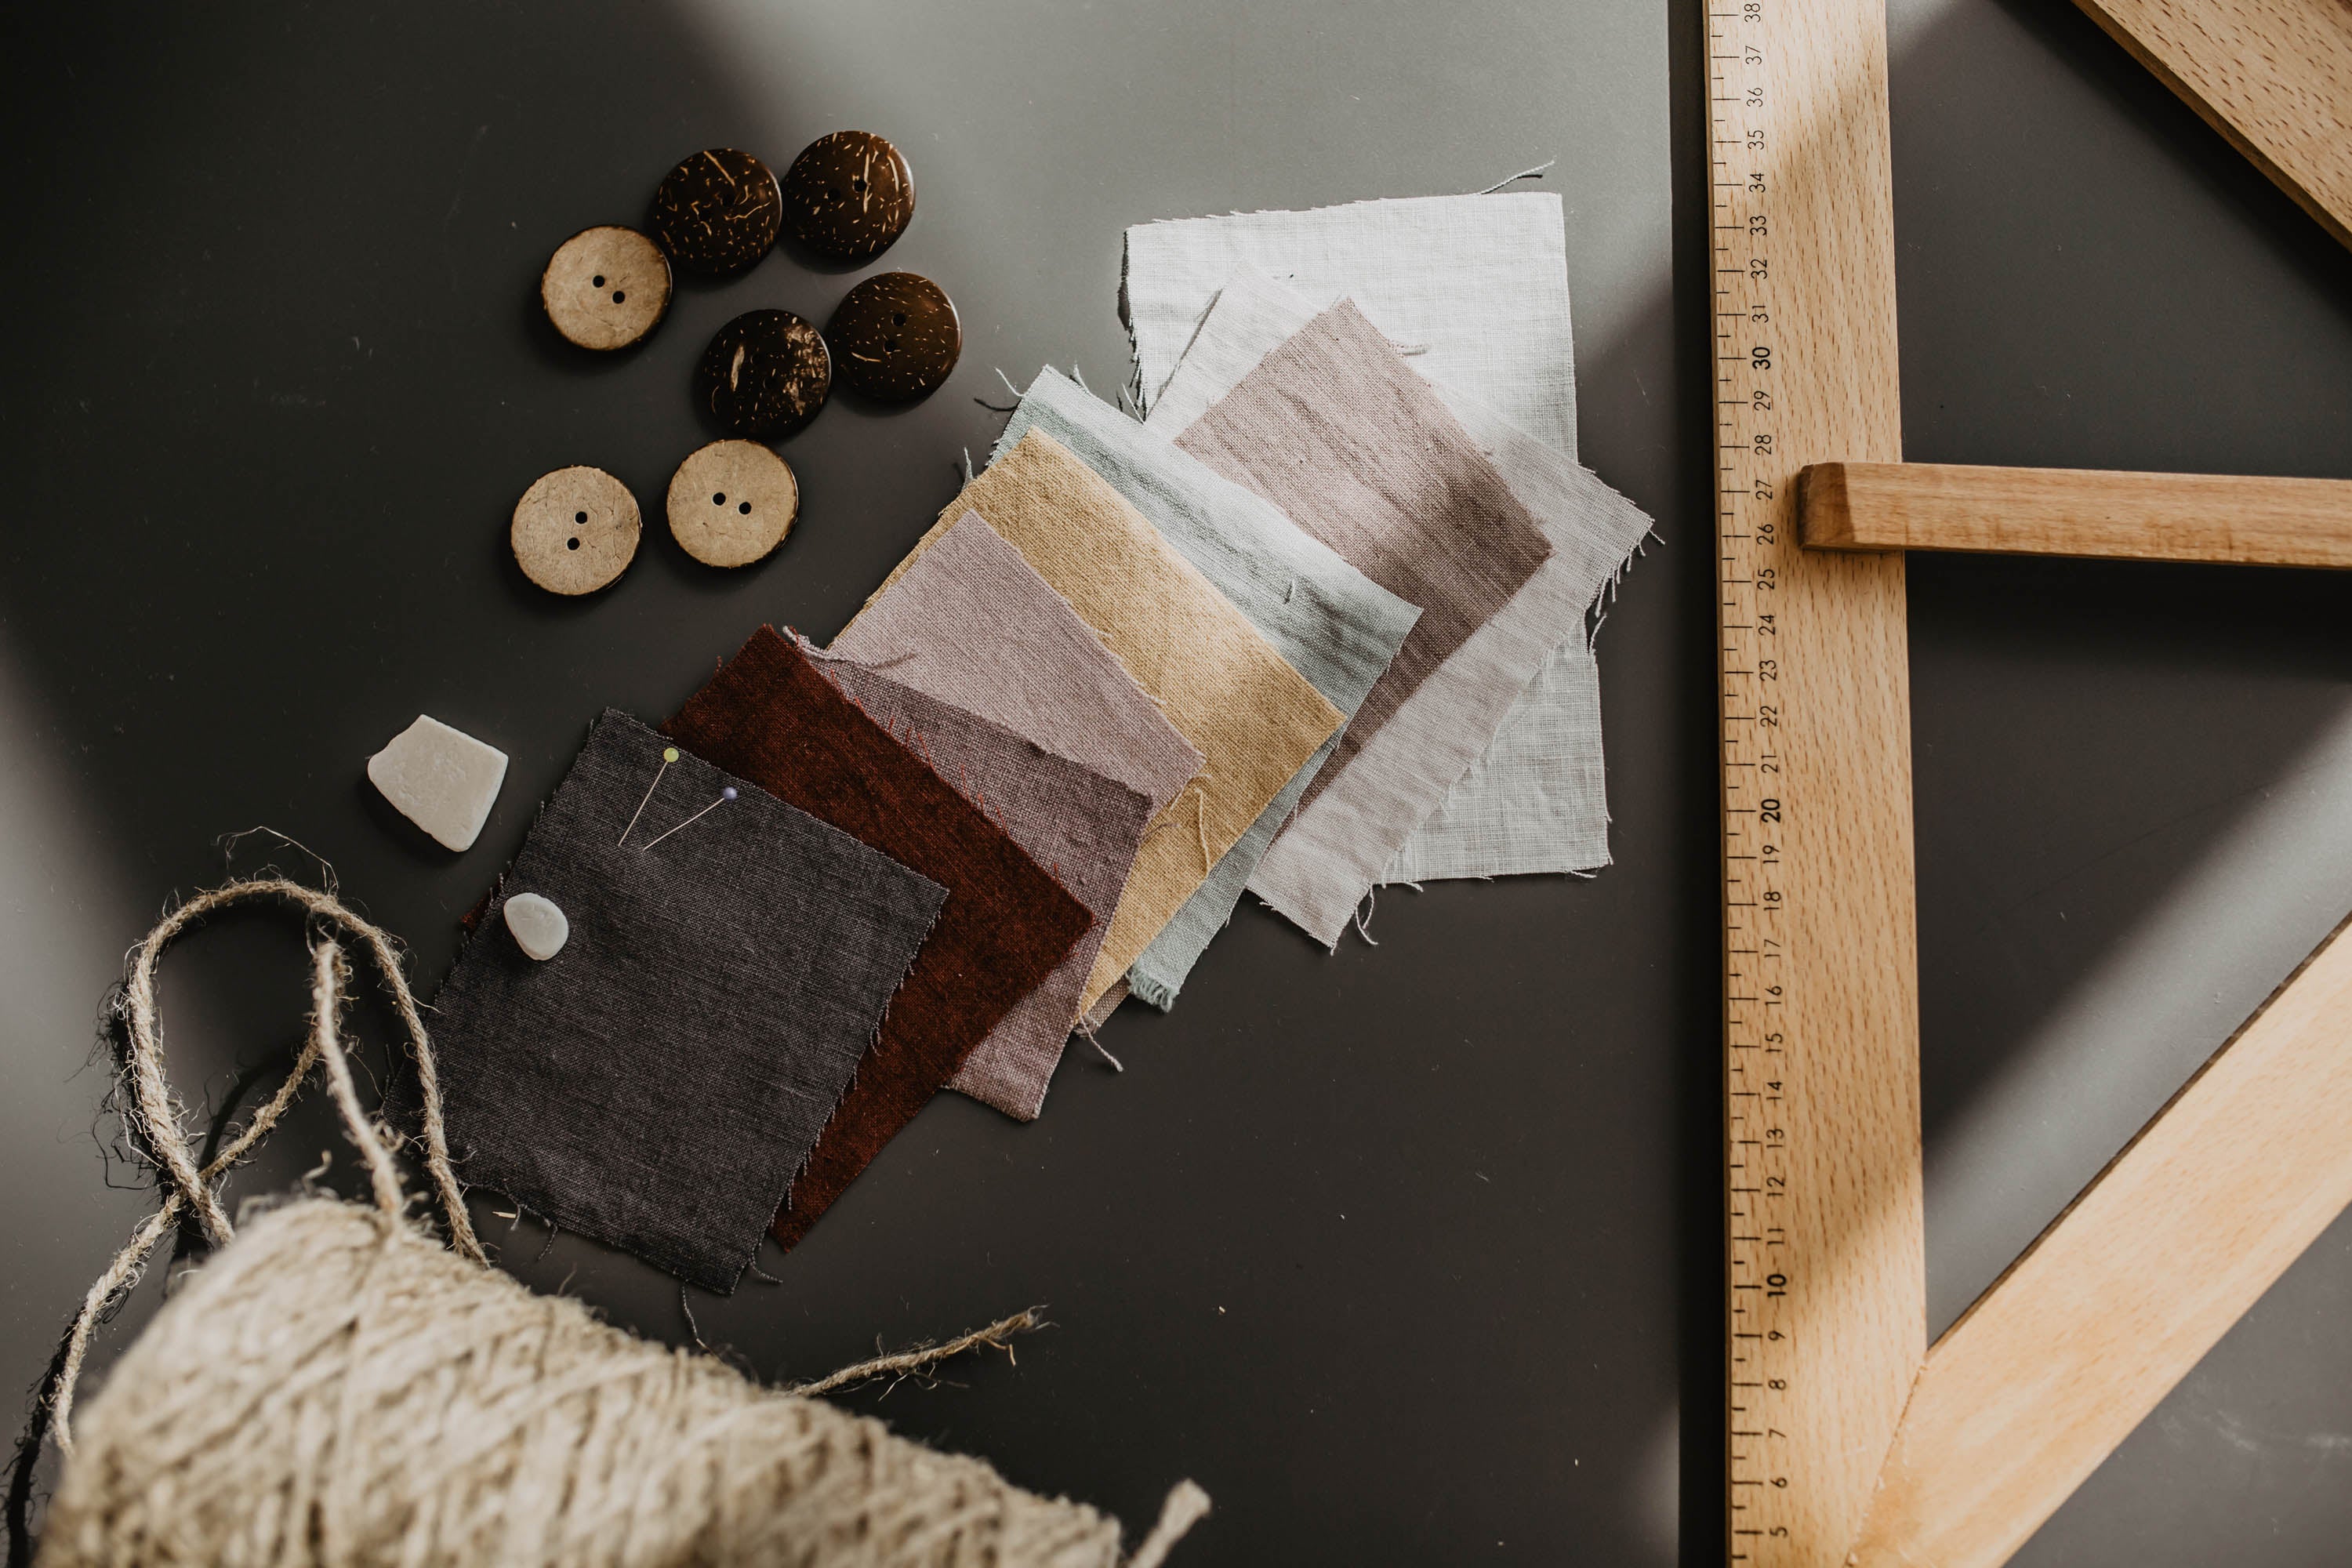
Choosing the Right Linen Fabric
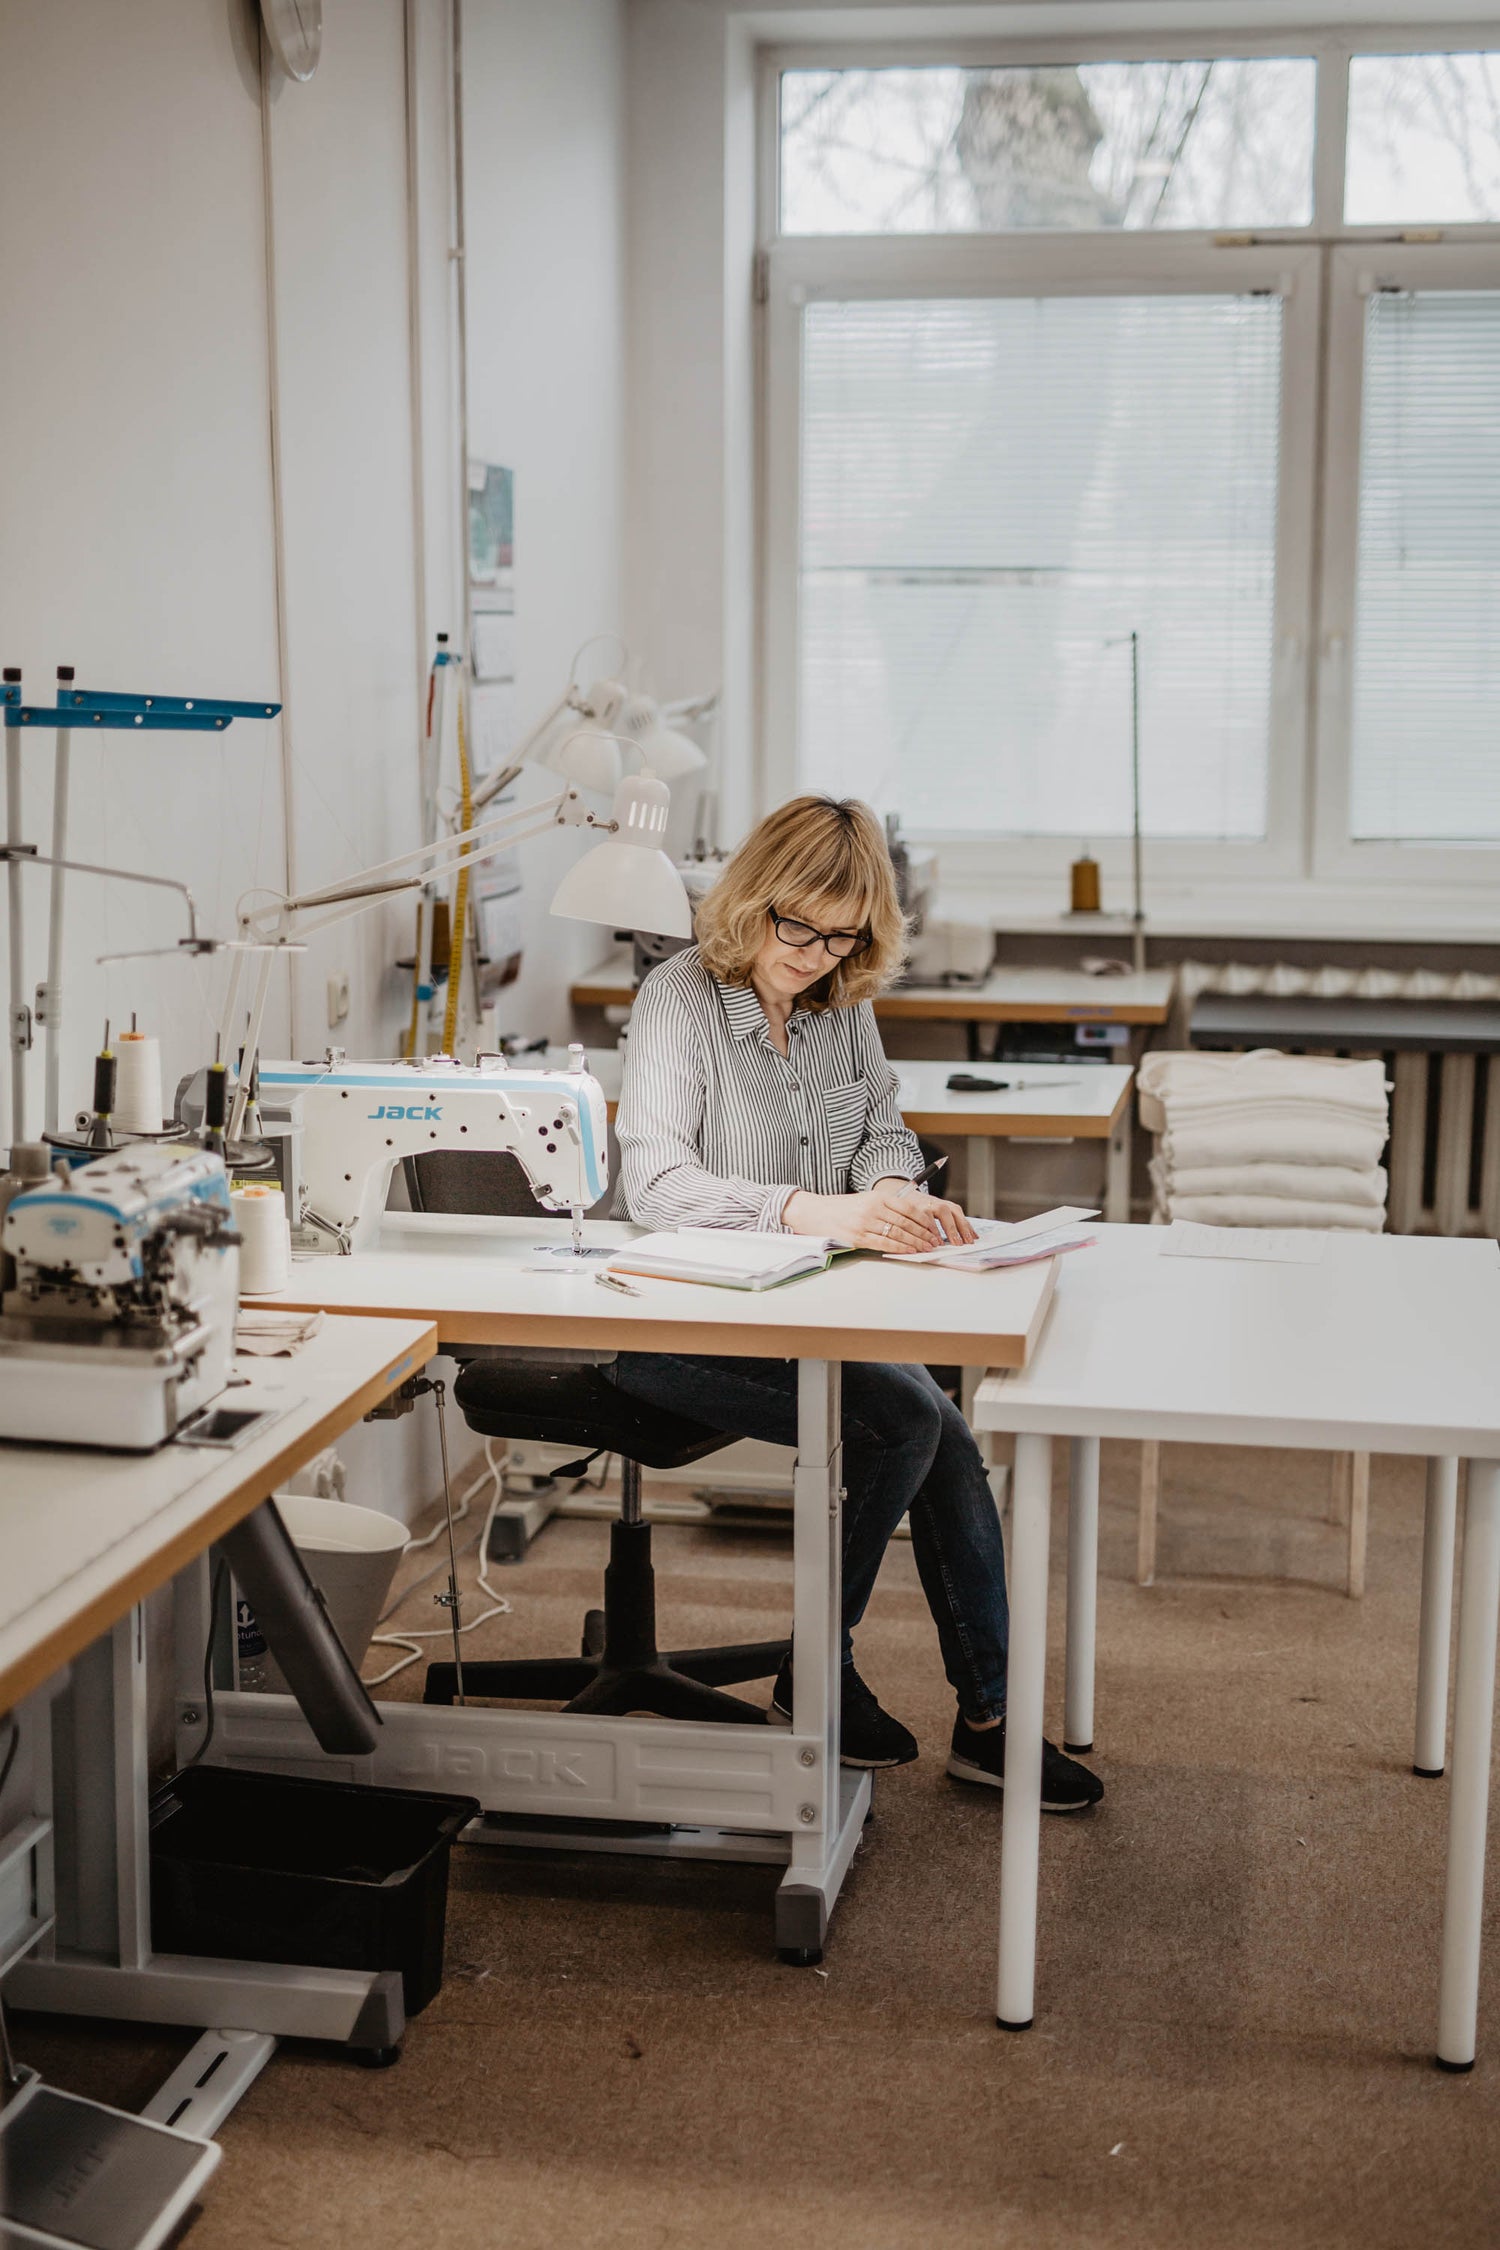
Tools You’ll Need
Tips for Sewing Linen
Closing Thought
Working with linen is more than just a craft — it’s a way of slowing down, creating with intention, and surrounding yourself with natural beauty.
Each project carries the satisfaction of something made by hand, something that softens and improves with time.
-
95" / 240 cm linen fabric in White
Regular price From $17.00Sale price From $17.00 Regular priceUnit price per -
95" / 240 cm linen fabric in Cream
Regular price From $17.00Sale price From $17.00 Regular priceUnit price per -
95" / 240 cm linen fabric in Charcoal
Regular price From $17.00Sale price From $17.00 Regular priceUnit price per -
95" / 240 cm linen fabric in Dusty Lavender
Regular price From $17.00Sale price From $17.00 Regular priceUnit price per -
95" / 240 cm linen fabric in Mustard
Regular price From $17.00Sale price From $17.00 Regular priceUnit price per -
95" / 240 cm linen fabric in Sage Green
Regular price From $17.00Sale price From $17.00 Regular priceUnit price per -
95" / 240 cm linen fabric in Rosy Brown
Regular price From $17.00Sale price From $17.00 Regular priceUnit price per -
95" / 240 cm linen fabric in Dusty Rose
Regular price From $17.00Sale price From $17.00 Regular priceUnit price per -
95" / 240 cm linen fabric in Terracotta
Regular price From $17.00Sale price From $17.00 Regular priceUnit price per -
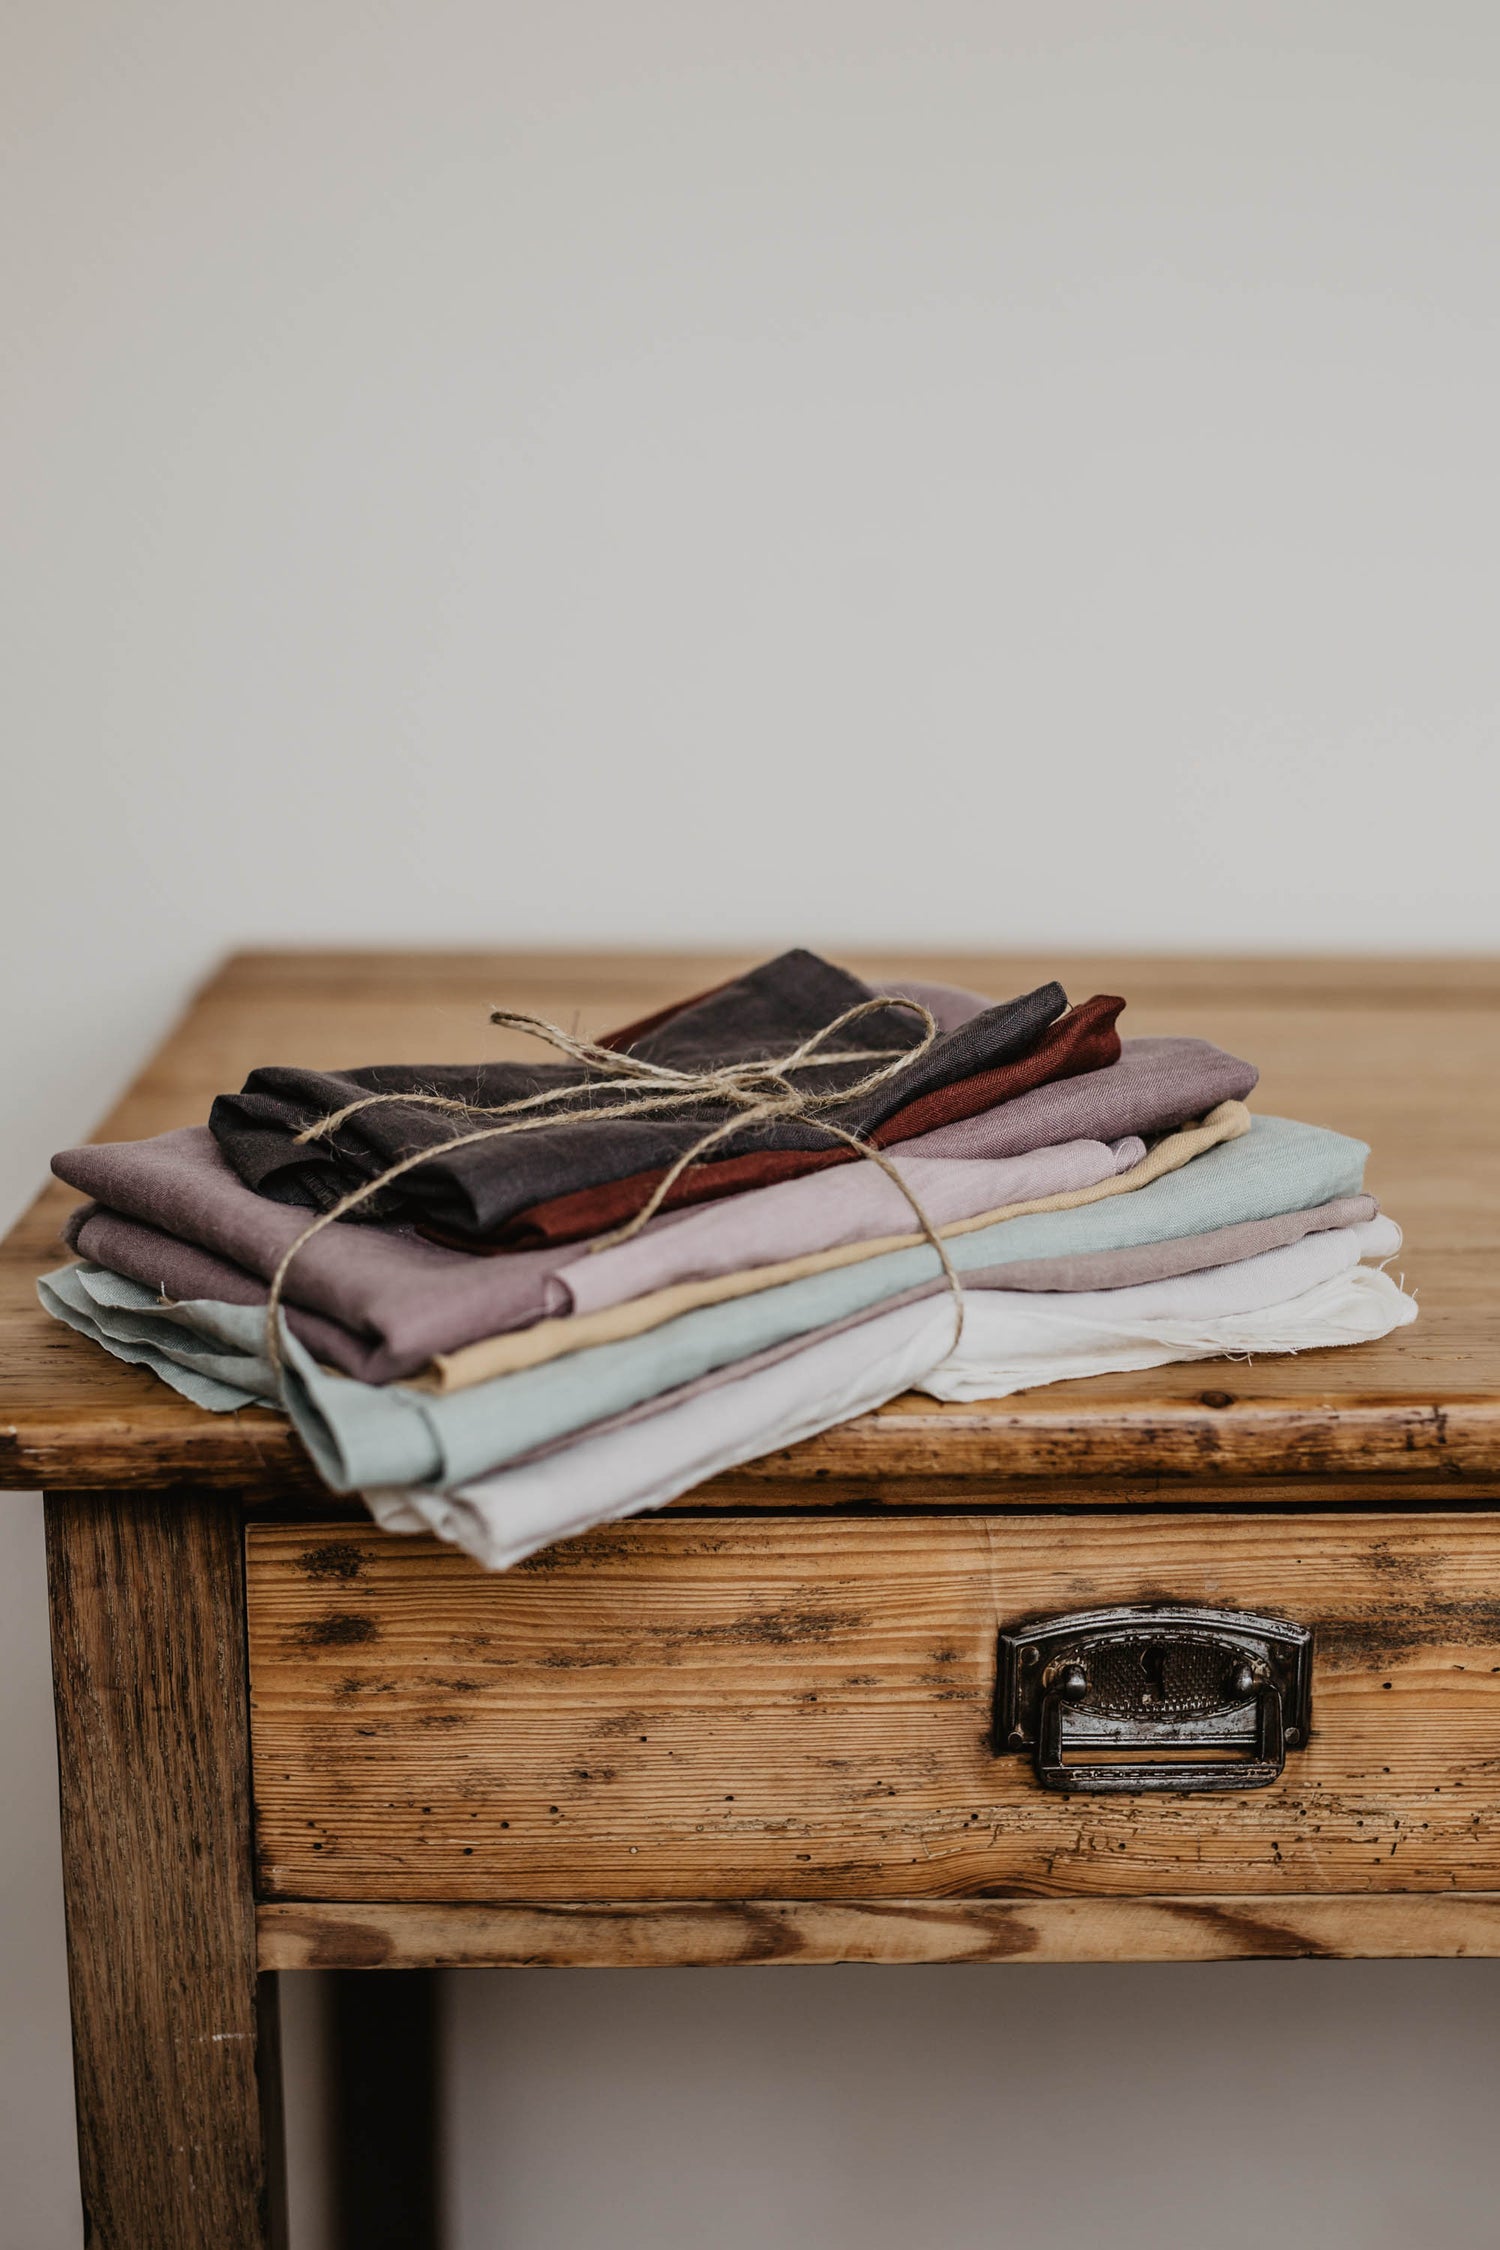
Linen scraps bundle
Regular price From $27.00Sale price From $27.00 Regular priceUnit price per -
Waffle linen scraps bundle
Regular price From $27.00Sale price From $27.00 Regular priceUnit price per -
Linen fabric color swatches
Regular price $5.00Sale price $5.00 Regular priceUnit price per


